Kantree has been built to be as flexible as you need it to be. You can structure your projects your way. Many aspects of cards and groups can be customized and adapted to your needs. Possibilities are endless!
Project properties
You can choose a color for your project.
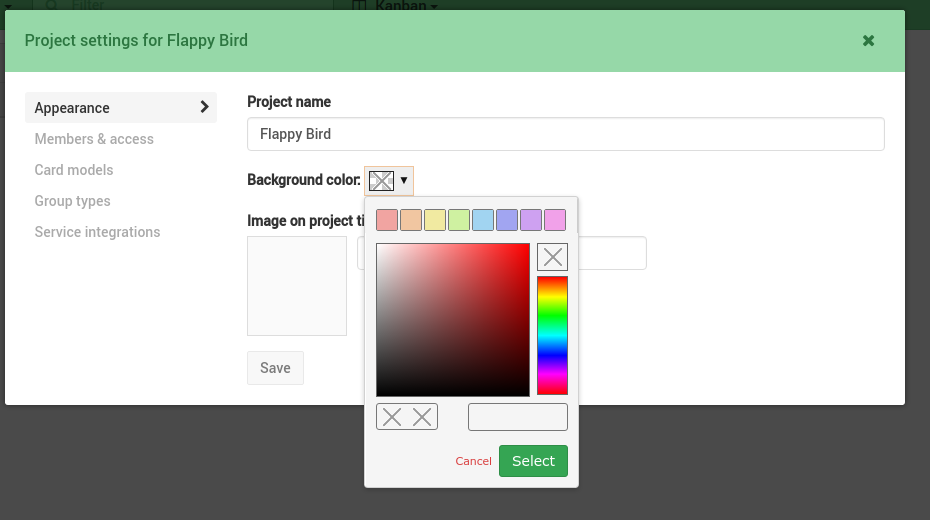
You can also choose a background image.
 this image will become your project cover.

Customize cards
This section is being developed in its [own guide](/help/guides/customize-cards).
Customize groups
Kantree brings you a single concept to represent all the ways you can imagine to group cards together.
If you’re working on a software product, you can create sprints, milestones, releases, components, labels, etc…
If you’re working in HR, you can group cards by countries, departments, etc…
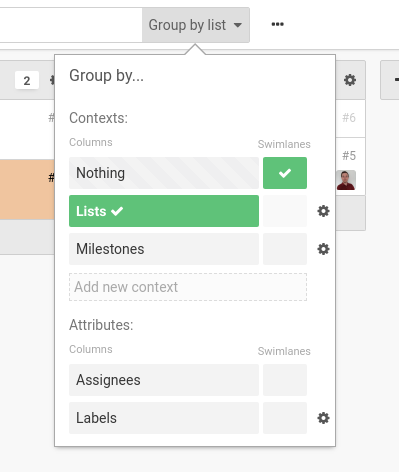
You can have multiple sets of groups in the same project, which let you have multiple logics to sort your cards. We call them project contexts.
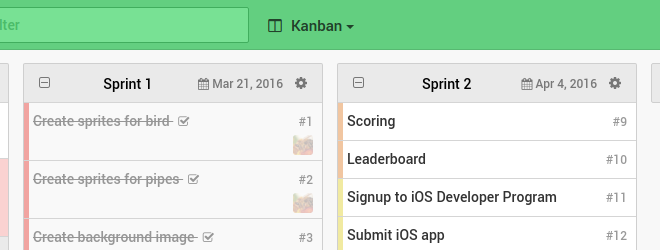
Kantree comes with lists and milestones pre-created.
Cards can be part of different groups coming from different contexts.
Then you can change the way you visualize your cards by changing the way you group them.
Labels and Multiple choices are like that. Thus, every options covered by this guide on context, is available for theses groups fields.
Add new contexts
Adding a new context in a project can be done very easily in the group by menu.
Just enter a name and press enter.
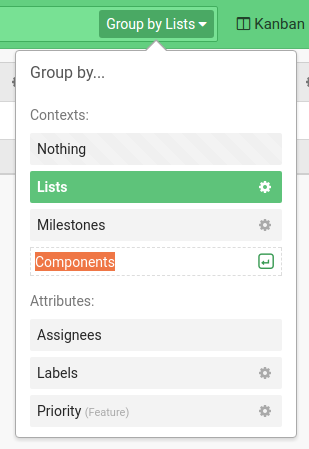
You can also create a new context in the project settings (under the Contexts tab)
Edit context
Some options are available for your context.
The context editor is accessible by clicking the edit button of a context in the project settings menu.
It looks like the following screenshot:

scope for contexts is no longer possible.
When choosing between “board”, “project”, “team” for the scope of your context, you are setting the availability for the groups of this context.
- (deprecated)
teammeans that all the groups of this context will be available for all the projects of the team. (this options is available only if [you define a context at a team level](/help/guides/teams#contexts-deprecated)). projectmeans that groups of this context will be bound to the project in which they are created and available for all the sub levels in this project, but they won’t be shared with other projects of the team.- (deprecated)
boardmeans that groups of this context will be bound to the board in which they are created, and won’t be shared with other board.
All contexts will have a hidden scope value of project.
Labels and Multiple choices fields will have an hidden scope value of team
If you check the option Cards can only be in one group of this context at a time, cards cannot belong to more than one group of this context.
You can also apply a random color to newly created group if you check the specific option.
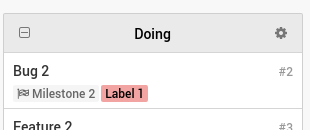
You can choose a display mode for the group in the tile view of a card :
- hidden
- as a label
- as a colored border
Then you can choose to set a period that will be associated to your groups when you create them. This allows you to setup iteration (like sprints) very easily.
Examples :
9dor9for 9 days1w 4d, or4d 1wfor 1 week and 4days1y 3m 2w 4d 15hfor 1 year, 3 months, 2 weeks, 4 days and 15 hours.
The start date of the period will be today if no other groups of this context exists, or the end date of the last created group of this context.
Contexts can be modified from the dedicated section of the team’s page or directly in project’s settings.
Edit a context will impact every project using it.
Enable org contexts (deprecated)
You will find all the available contexts in the project settings.
Contexts, like [card models](/help/guides/customize-cards#card-models), can be created at a team level and shared between every project of the team. You only have to enabled/disable them in your projects.
Delete contexts
Delete a context will impact every project using it, all the groups of the deleted context will be deleted as well, and references of them in cards will be removed. Impacted cards won’t be deleted though.
Manage groups in a project
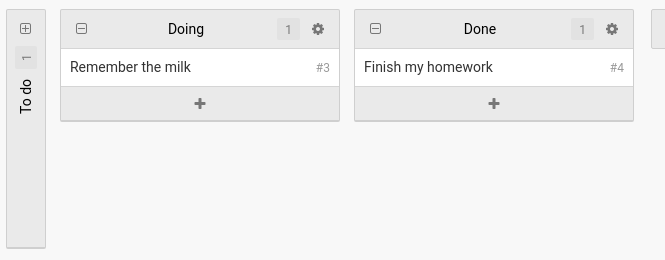
You can quickly create groups of a specific context by creating columns in the Kanban boards.
Drop cards in columns to give them a group. You can do the same in card settings menu.
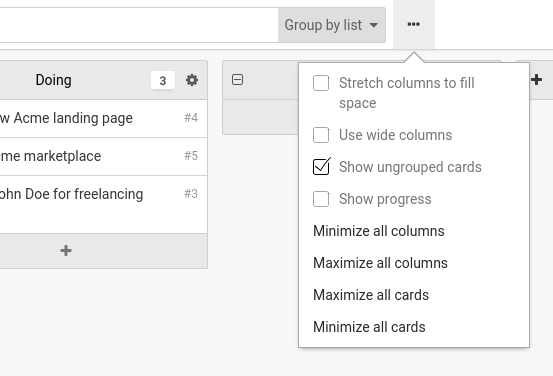
If a card does't belong to any group of the current group by, it is displayed in an ungrouped collection of cards (a column in the kanban view, a table in the table view).
Different views options let you decide if you want to hide or not these ungrouped cards.
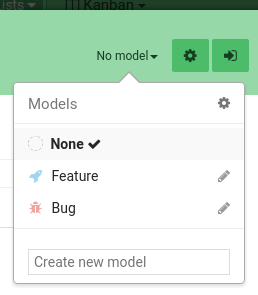
Manage models
You can select which [card models](/help/guides/customize-cards#card-models) are available in your project, in the project settings.

Card models can be created at a team level and shared between every project of the team. You only have to enabled/disable them in your settings projects.
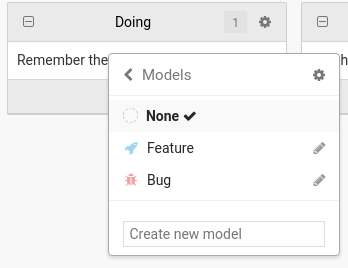
Then you can change the model of a card directly in the card view, or in the right-click menu.
If a card use a card model with a specific color or a specific icon it will spawn on top of the card right after you choose your model
Delete card models
You can delete a card model from the team page or from the project settings menu. A card model can only be deleted if no card in all the projects of the team is using it.
Manage recurring cards
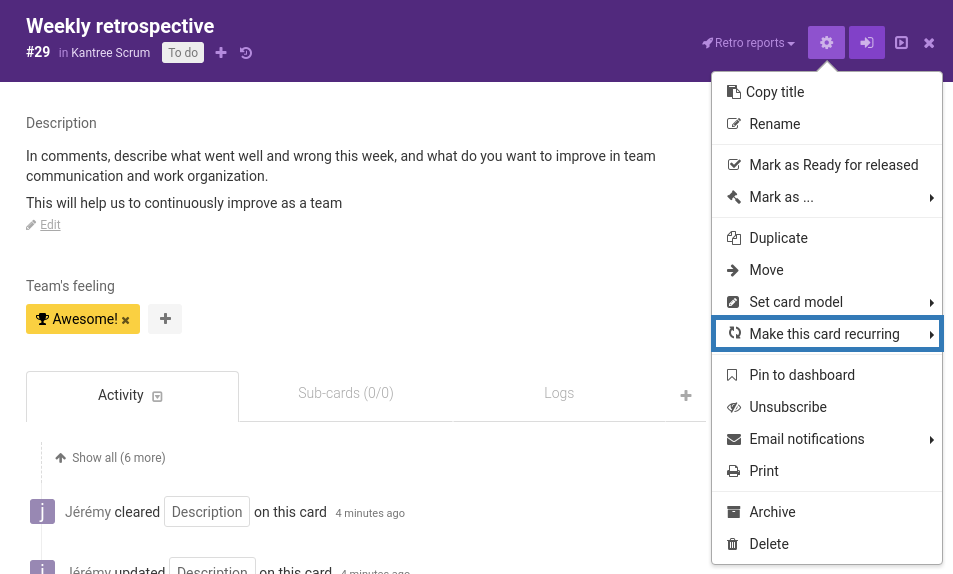
Choose or create a card you want to repeat.
In the card settings, choose make this card recurring.
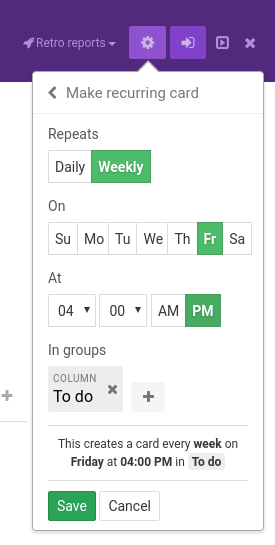
Choose between daily, weekly or monthly, select a time and groups in which new cards will be created.
Click save and you recurring card will be created copying the card model, every fields (except members) and subcards.
If you want to edit your recurring cards (editing fields, changing schedule) you can do so from the project settings
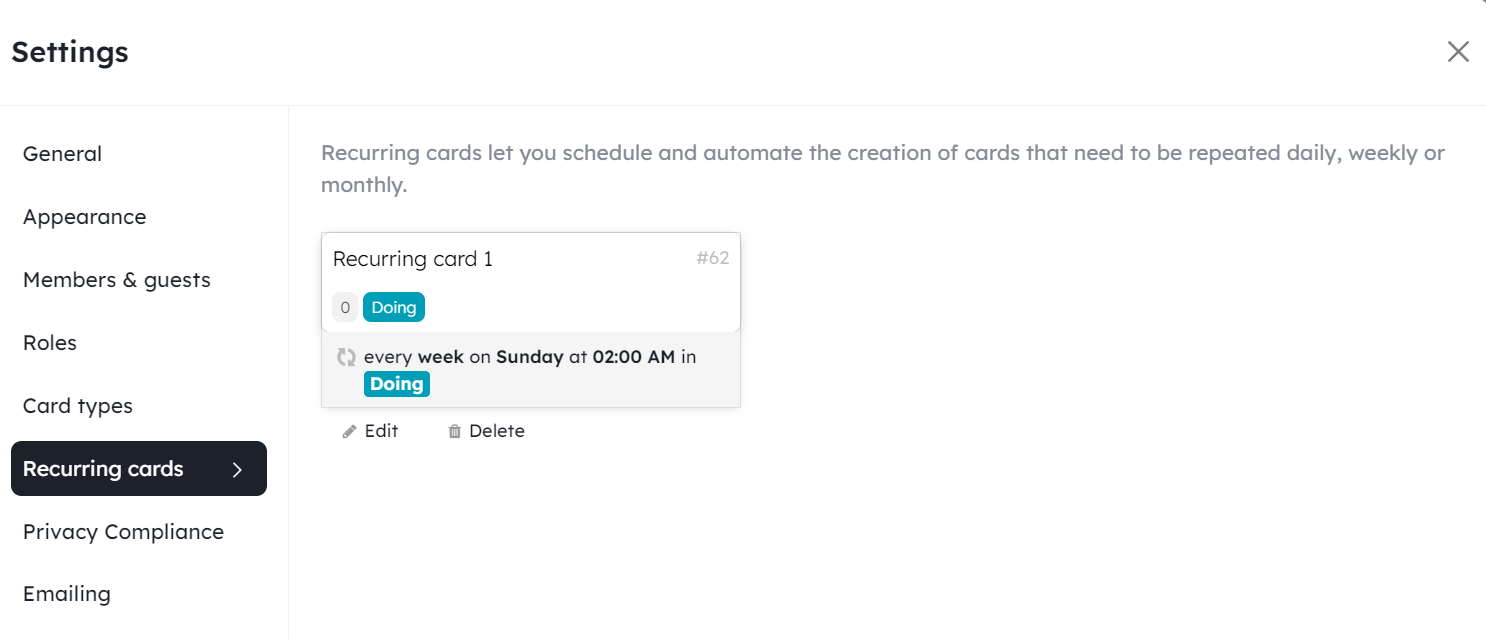
Recurring cards are different from their origin cards, so you can safely archive or delete the latter, it won’t affect your scheduled card generator.
Save views
Views can be seen as shortcut to quickly configure the view of a project the way you want it.
A view is saving a mode (Kanban, Report, Timeline, Forms), a filter, a group by, archives visibility and a few other options of the choosen mode (collapsed groups, visible columns in table…).
View can be private (only for you), or shared with every project members. When a view is active, you can share the URL with other project members, and they will be able to directly access this view.
Create a view
Any changes in any elements described above are done on an Unsaved view*. This is a private draft view.
Only you have access to it.
If the Unsaved view* doesn’t exist while you doing a change, it is created automatically.
You can switch back and forth between an existing view and the Unsaved view* without loosing your changes.
You can only have one Unsaved view* and any changes you do (even those you do from a existing view) overrides those who were already store in it.
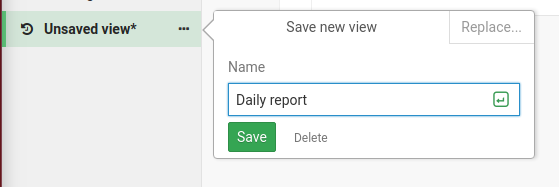
Once you’re satisfied with your Unsaved view*, you can save it.
Click on the .... Two options: Create a new view (you must choose a name) or replace an existing one.
More options (icon, accessibility…) are available once you saved it.
Unsaved view* when you're satisfied because any additionnal changes will continue to modify your Unsaved view*.
Unsaved view*. Then your first view in the sidebar will be activated.
Unsaved view* is created automatically.
report view, if you switch to an other view mode (Kanban , Journal, Timeline...), a popup will ask you if you want to save your Unsaved view* or overwrite it.
Edit a view
Hover a view in the sidebar to display the ... button. Click on it to open the editor.
Hover it to display the ... button.
You can decide if this view is available for the project and its sub-boards, or only to the current level of hierarchy.
You can share a private view.
If you want to edit the saved settings of a view, edit the layout of your project as you wish. An Unsaved view* will be created and activated. Then choose to replace an existing view instead of create a new view from your Unsaved view*.
Saved options
You can save in view a variety of options across a project.
In Kanban board and Table, you can save minimized and maximized columns.
You can also save all the view mode options.
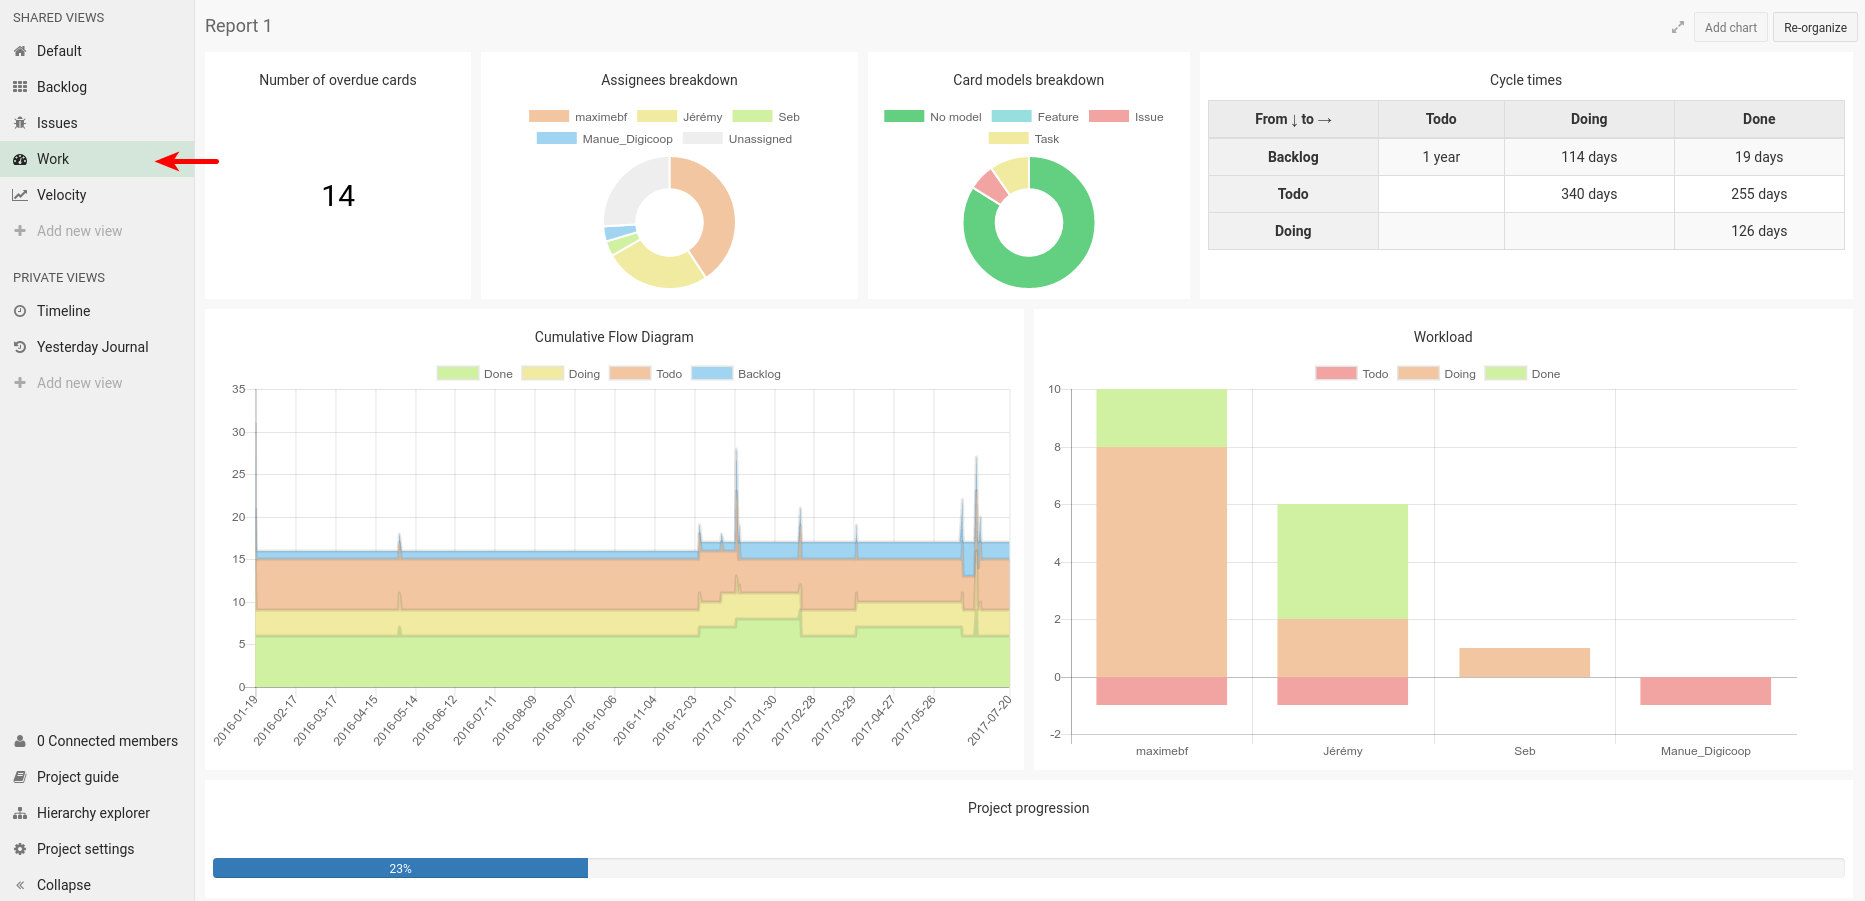
Saved view are very important to create reports as it is the only way to save them.
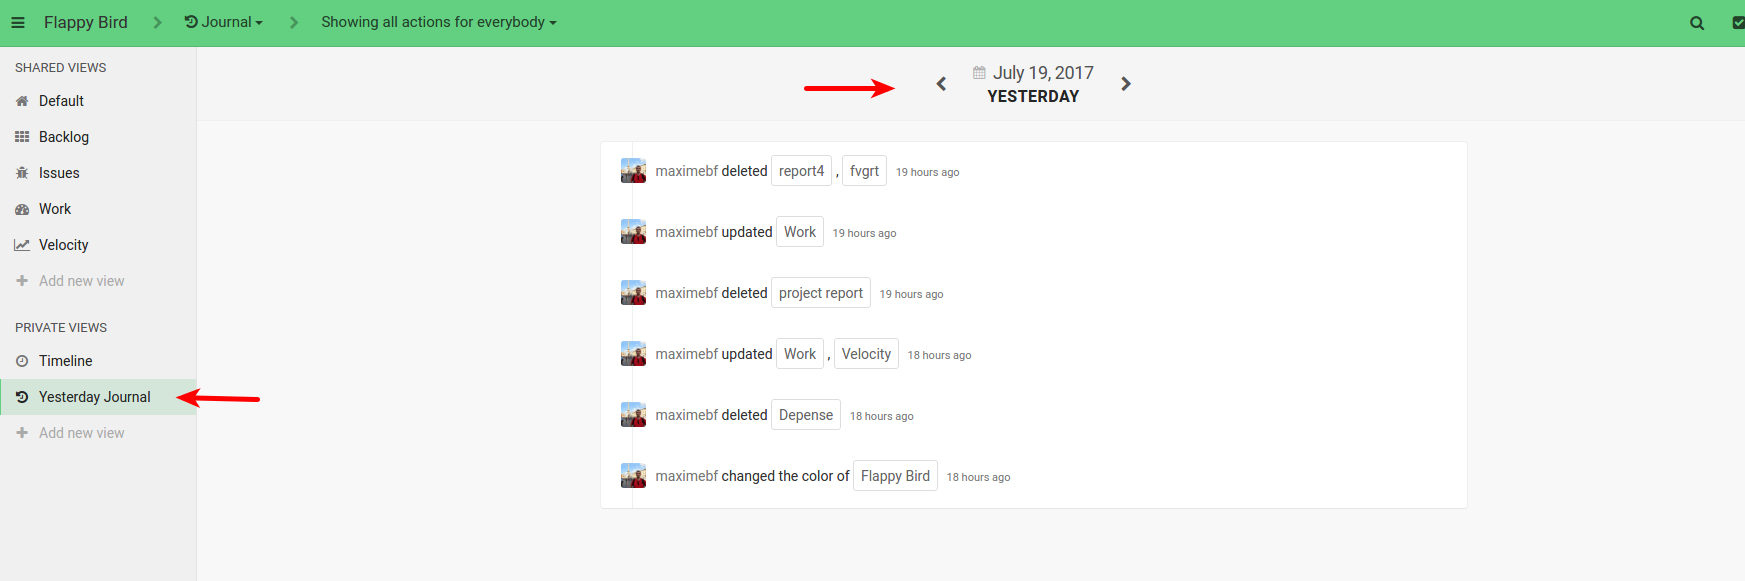
In Logs and Journal modes, the selected time span can be saved in a view. You can save a relative dates (like Today, Yesterday, or Last week).
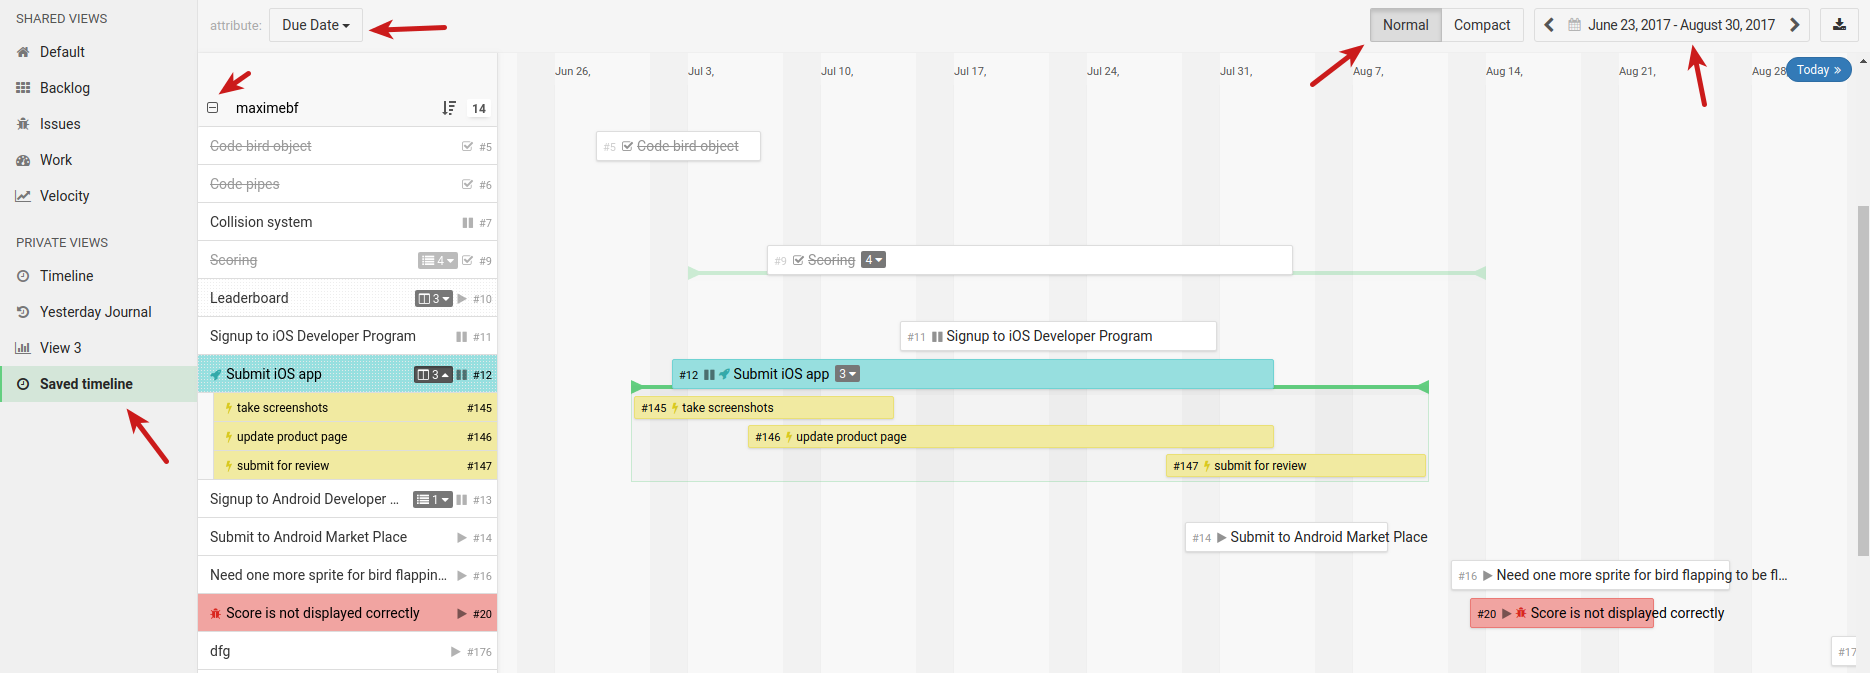
In Timeline, minimized/maximized groups are saved, compact/normal mode as well, and also the selected timespan and the selected [date field](/help/guides/customize-cards#card-fields-overview).
Delete a view
Delete a view directly by clicking Delete in its [edit menu](/help/guides/customization#edit-a-view). It doesn’t delete any cards or groups in your project.
Manage Forms
Forms gives you a simple way to let external people create cards in your project.
You can indeed configure a form and make it available to the people you want. Then, each time a form is submitted, a card will be created according to the terms you’ve set in your form configuration.
You will then be able to update the submitters about the processing of its request.
Learn more in the [Project forms guide](/help/guides/forms).
Manage Logs
In your card, you can log any kind of structured information. The most obvious application of this feature is time tracking.
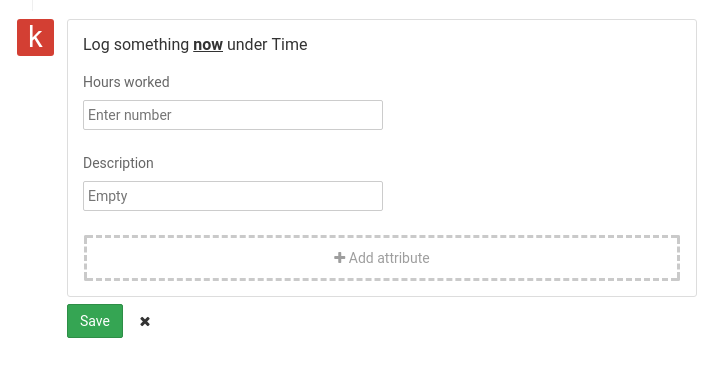
Learn more in the [Logs guide](/help/guides/logs).
Manage webhooks
In the project settings, you can set webhooks for your project.
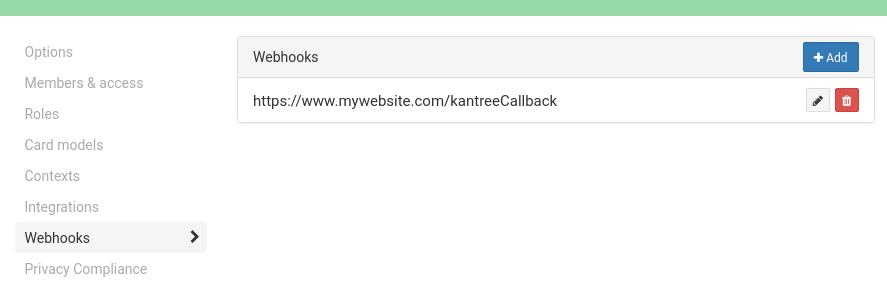
Use them to register URL that will be notified once specific events happened in Kantree.
More info about webhooks in the developers guide