
Make Kantree your business application
Build your business application with the flexibility and the options of Kantree.
In this article
Kantree adapts to many uses. With the features of this guide, a workspace becomes a real application for your business. They are most useful when more than 5 people work in the workspace, or when you work with other teams or with people outside your company.
With these features:
- business managers secure the processes and guide the teams on a clear path,
- business managers build their processes themselves, without IT,
- the teams follow a clear path, with the steps and the words of their work, and nothing more,
- everyone saves time thanks to automations,
- everyone collaborates and communicates more easily,
- the application evolves with the processes and the organization of the teams.
Set up your data model
Fields
Add the fields that you need to the cards, rename them, and place them in the card. See Customize cards.
Some options make the path clearer:
- Assignees fields: Filter members by role suggests only the members of some roles. Useful when the workspace has many members: the list shows only the people who can be chosen.
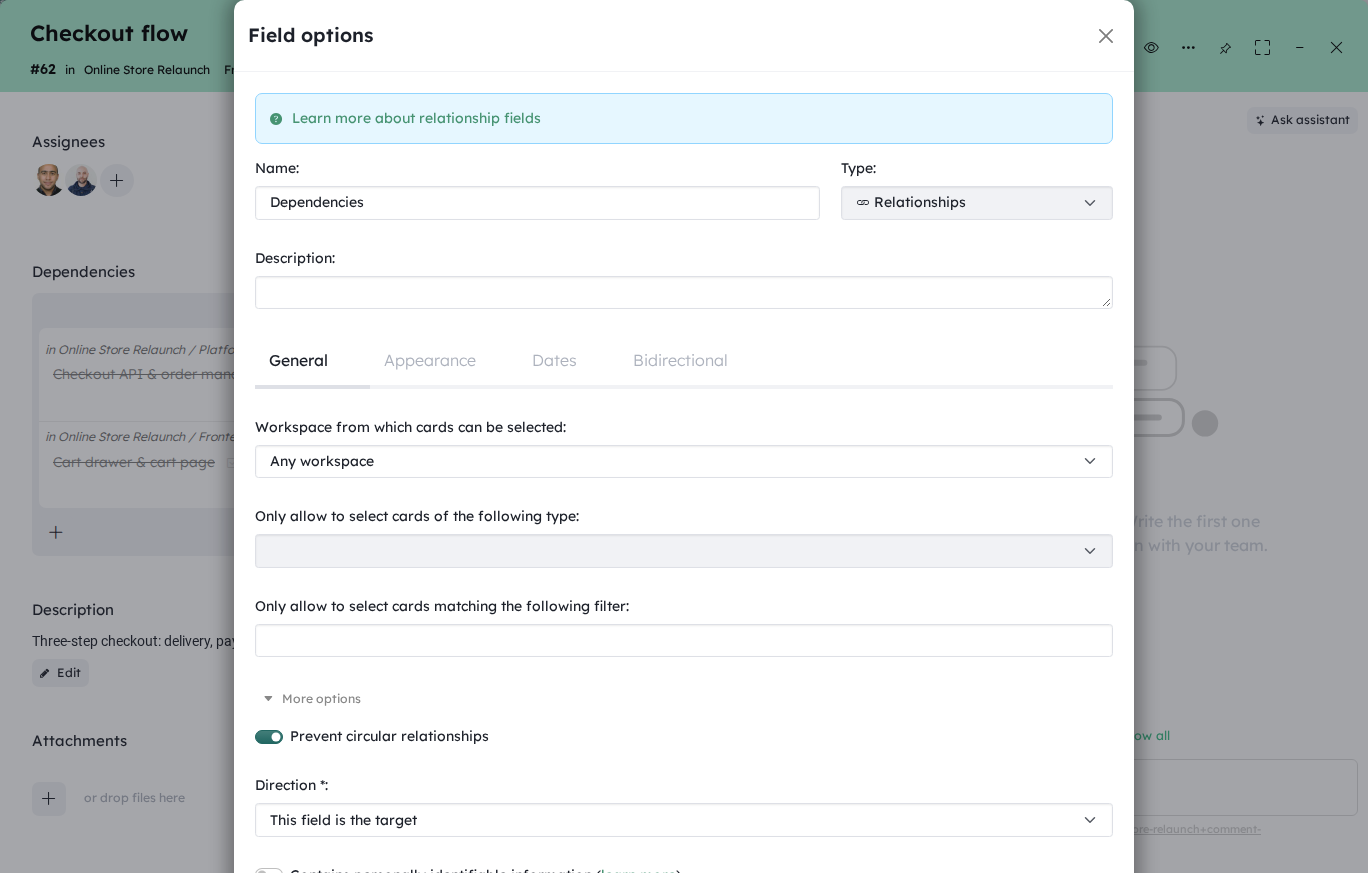
- Relationships fields: Only allow to select cards of the following type and Only allow to select cards matching the following filter limit the cards that can be linked. Prevent the creation of new cards in the selection modal prevents people from creating cards from the field.
Card types
Use card types for the different kinds of data of the workspace: projects, tasks, meetings… Give each type the fields that it needs. For example, a “Meeting” card needs a “Meeting date” field, and a “Project” card a “Planned end date” field. See Card types.
Change the data model
When your needs change, add or remove fields and card types. If the structure of the workspace is locked (see Lock the workspace), unlock it, make your changes, then lock it again.
Focus on the data that matters to your business
Views
Give the members shared views, filtered and grouped for their work. Everyone finds the views they need to work and to follow the progress.
Each member can also create private views from a shared view, with their own options. For example, the shared view is a kanban, but a member prefers a table.
Filter
The filter shows only the data that you need. For example: the cards with a warning, the cards of type “Meeting”, the cards due this week. See Filter and KQL.
Grouping
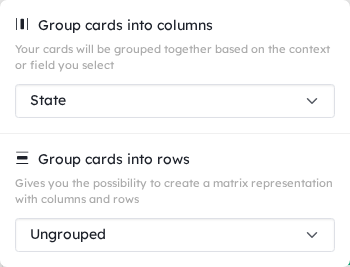
The kanban, table, list, timeline and Gantt views group the cards by a field: state, labels, select, members, relationships… The kanban view can group by two fields, in columns and in rows.
Organize the views
When you have many views, or several teams in the same workspace, sort the views in categories: open the menu of the Views section of the sidebar, then click Add category. Drag the views into the categories.
Who sees which view
Show each kind of user (internal, supplier, customer…) only the views they need: hover a view, click …, then Who can see this view?. Their screen is clear, with only what matters to them. See Views.
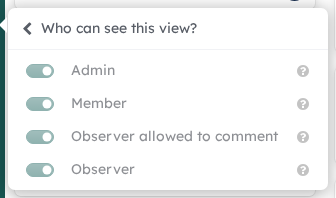
This option hides views, but it does not restrict access to the data: a user can still create a private view without a filter. To restrict access, use roles and permissions.
Put your automations in the right place
Buttons in the toolbar of a view
Add the Manual action on workspace rules to the toolbar of a view:
- Open the Appearance menu, then click Add actions. An Actions menu appears in the toolbar.
- In this menu, choose the rules with Select actions.
- Save the view.
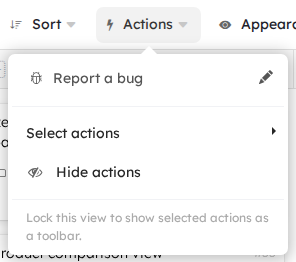
When the view is locked, each rule appears as a button in the toolbar.
Buttons in the toolbar of the cards
Add the Manual action on cards rules to the toolbar of the cards: in the list of automations, click Add to card toolbar next to the rule. The button appears at the top of all the cards, in the right place for the next step.

Conditions to run the rule
To control when a rule can run:
- in the trigger of a Manual action on a card, Only apply to matching cards sets a KQL filter, for example
#{To validate}, - Can only be run by users with these roles lets only some roles run the rule (turn on Run as the current user when logged in).
When the conditions are not met, people see the button but cannot use it.
Ask questions before the rule runs
A manual rule can ask questions before it runs. In its trigger, open More options, then add Demand variables: for each question, a name, a type (text, long text, number, checkbox), a title and a description.
When someone runs the rule, a window asks the questions:
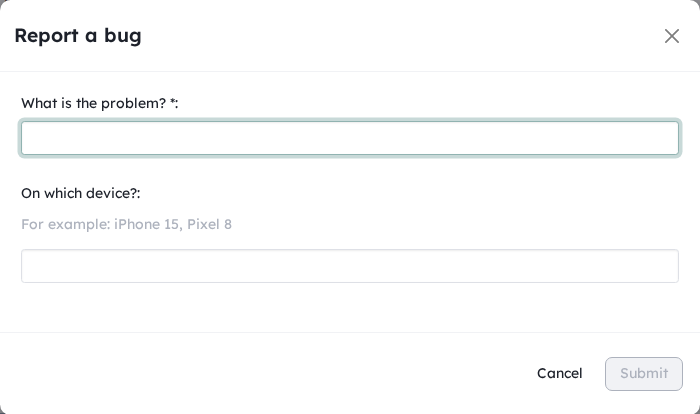
The rule uses the answers as variables. For example, ${title} in the Create card action gives the answer to the question named title.
Control the structure of your workspace
Lock the workspace
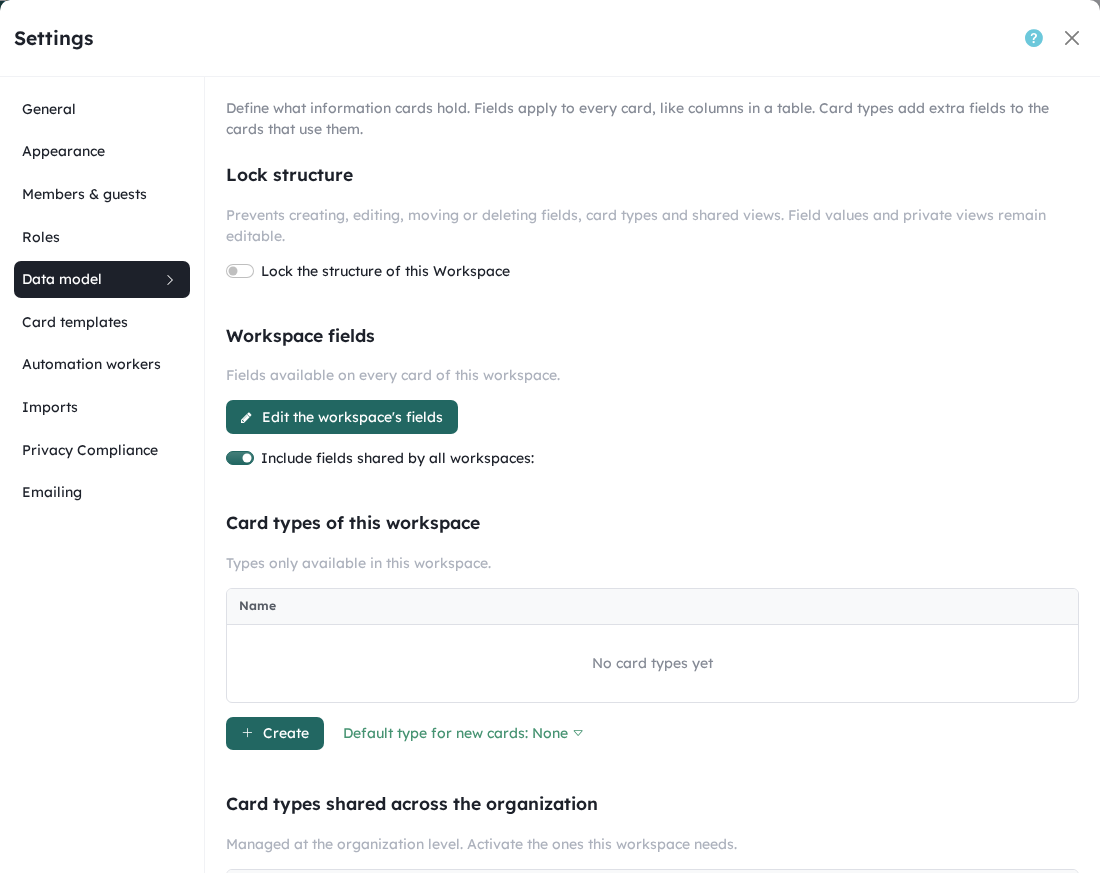
Even administrators can change the structure by mistake. Open the settings of the workspace, then Data model, then turn on Lock the structure of this Workspace. Nobody can then create, change, move or delete fields, card types and shared views. The values of the fields and the private views can still be changed.
Lock a view
When a workspace has many administrators, lock its important views: hover the view, click …, then turn on Lock view. A locked view has no toolbar to change it. Its automation buttons stay visible.
Create your indicators
Dashboards show charts, numbers and lists of cards, all in one place. See Dashboards and KQL.
Use case
Context
A commissioning manager in an industrial company wants to run their processes in a collaborative tool that can evolve. They want data structures adapted to their business, but also a clear path, so that everyone follows the process easily.
The team has 13 people: 1 team manager, 2 managers and 10 technicians.
Process
The assembly team sends availability notices to the commissioning team: a piece of equipment is assembled and ready to be tested.
The commissioning team tests and approves the equipment before the sale to the customer, who then approves it. This ends the process.
At the “Reception” and “Verification” steps, a compliance problem can send the equipment back to the assembly team.
The steps of the process are the values of a State field:
Reception → Verification → In progress → Back to assembly → Sale → Commissioning done
Each step has tasks. The managers do the tasks from “Reception” to “Verification”. The technicians do the tasks from “Verification” to “In progress”. The managers then do the tasks from “Sale” to “Commissioning done”.
The tasks have their own fields and their own steps (a second State field):
Not tested → In progress → Tested, or Returned
Set up the data model
- A “Commissioning” card type, from “Reception” to “Commissioning done”.
- A “Task” card type.
- A “Team meeting” card type.
- A State field for the steps of the process.
- A Relationships field to link cards, and to synchronize them with automations. See Relationship field.
Focus on the data that matters
- A kanban view of the commissionings, grouped by step.
- A kanban view of the tasks, grouped by step and by technician.
- A table view of the cards that wait for a return.
- A private view for each team member, with the actions of the week.
Automate the processes
- The assembly team creates the availability notices with a form. The form is published on the organization page: people can add it to the bookmarks of their browser.
- A Send back to assembly button in the toolbar of the cards sends the card back to the assembly team: it changes the step, notifies the team, and asks for the reason of the return with a question.
- At the last step, “Commissioning done”, an automation sends a confirmation email to the customer, with the essential information.
Control the structure
- Lock the structure of the workspace once it is approved.
- Lock the shared views to prevent changes.
- Create roles for the people who consult the workspace with limited rights. For example, a role for the assembly team that can comment, to manage the returns.
- Create a role to give customers access to some views.
- Choose which roles see each view: everyone sees only the views they need.